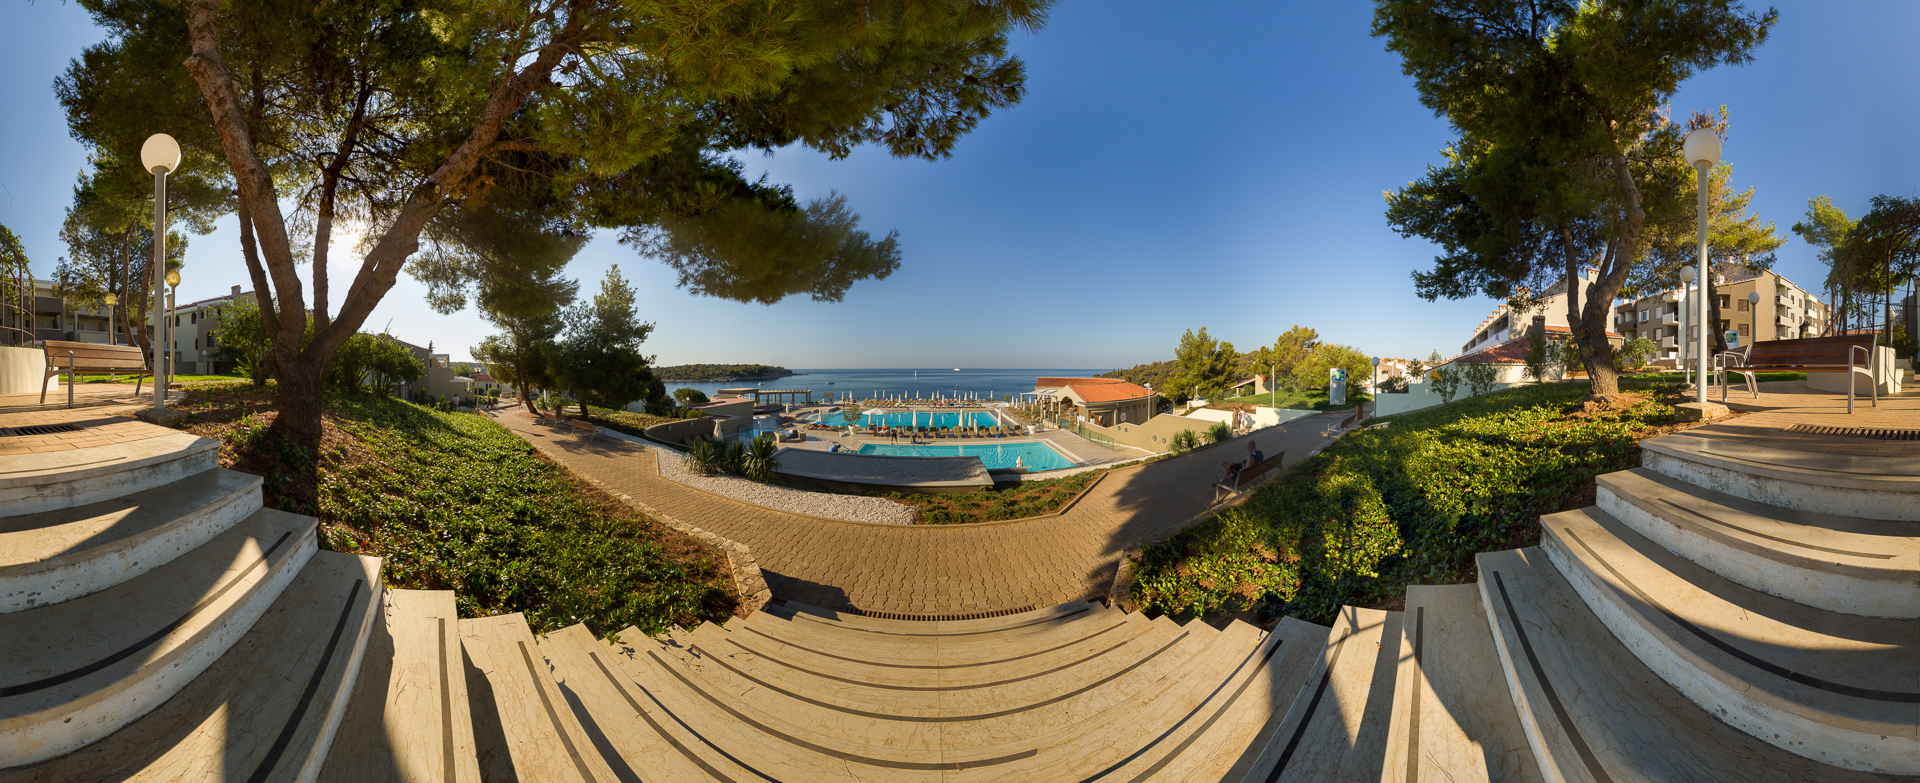
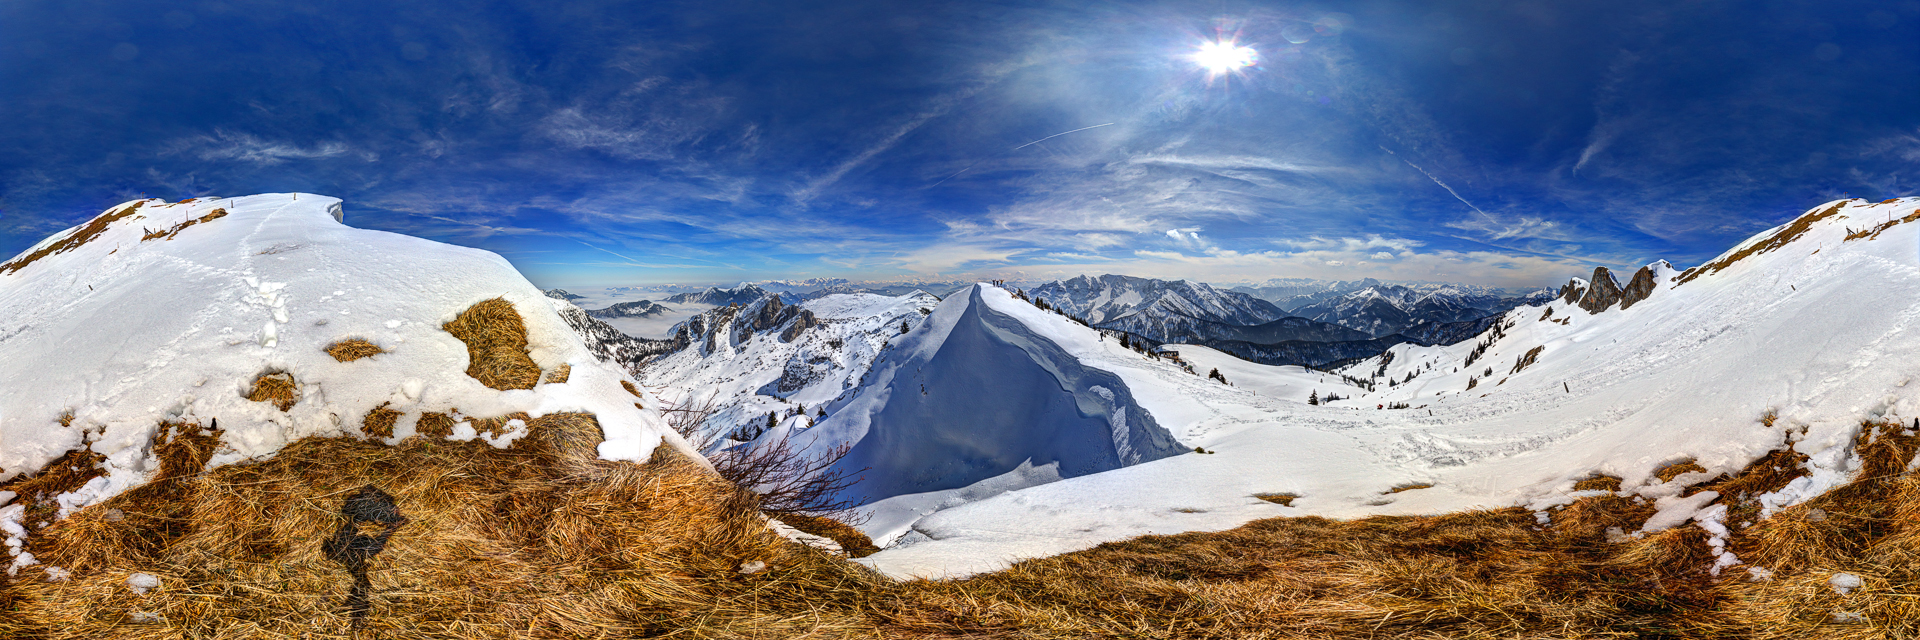
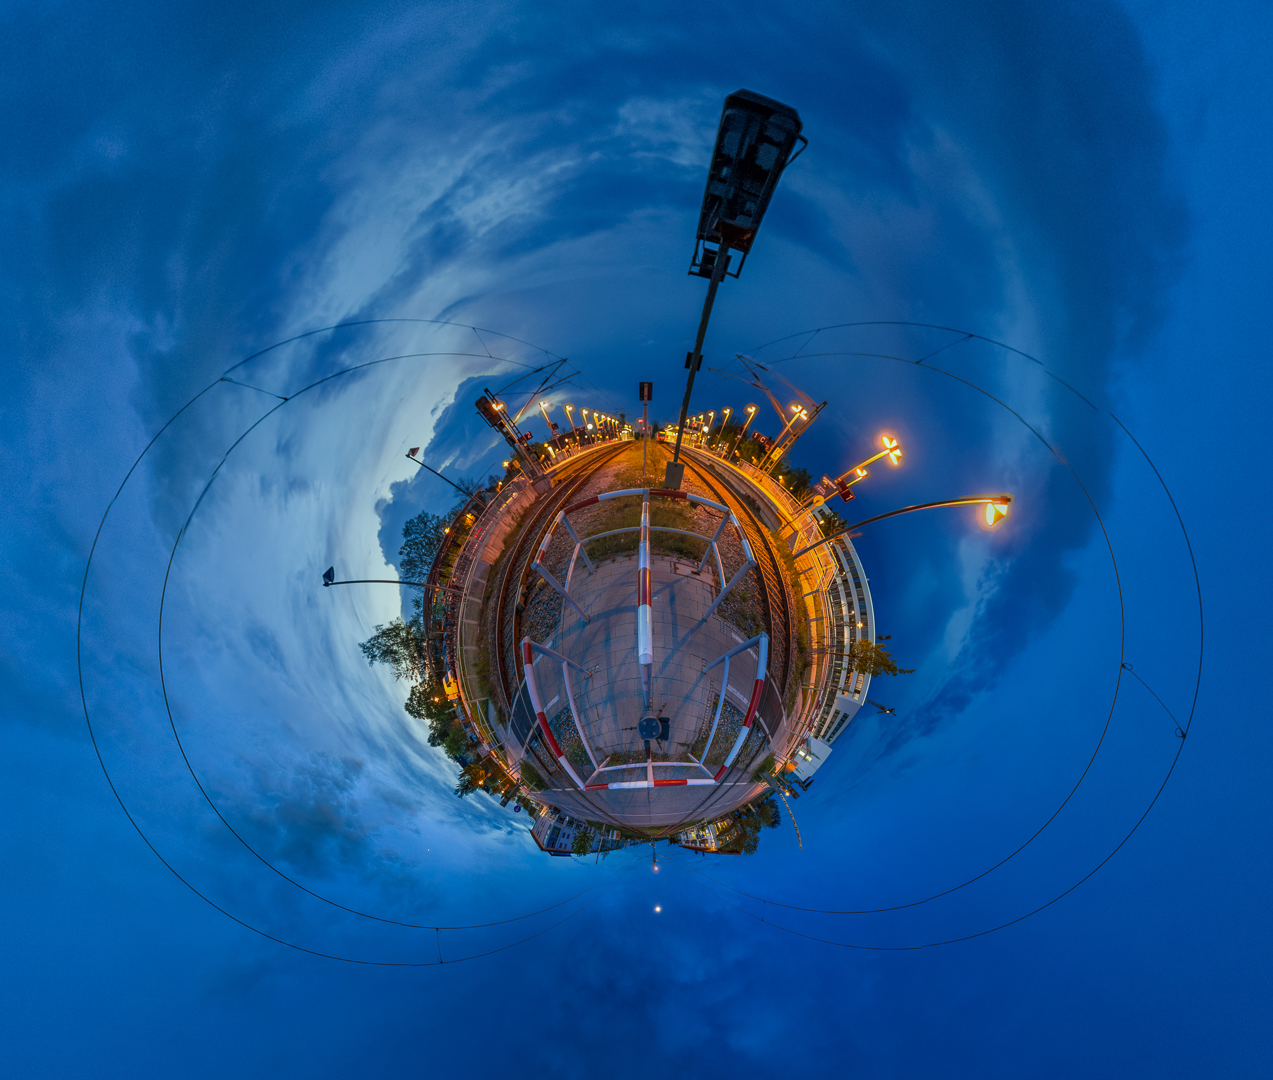
For your convenience, we provide some panorama stitching tips that help you to get the maximum out of shots taken with the Panohero – our panoramic head for action cameras.
Use Exposure Bracketing
Some stitching tips are related to exposure bracketing. What is it and how do you get it?
A great way to deal with the large dynamic range of a panorama is to take multiple exposures into each direction and to process the panorama using HDR-techniques. GoPro cameras do not natively support auto exposure bracketing (AEB) as provided by many other cameras. Fortunately you can overcome this limitation easily and comfortably by using the app GoPro HDR of Tequnique.
It is also possible to shoot exposure brackets manually with the GoPro Hero 4. This method is somewhat cumbersome, slow and error prone – but it is good to find out for yourself whether you find it worthwhile to take a path towards AEB and HDR: Use a smartphone with the GoPro App, go to settings, scroll to Photo settings, turn on Protune, set white balance to a fixed value, set the ISO limit to 100, use „EV comp“ to vary the exposure time, and trigger a photo. Most of these steps have to repeated for every shot of every exposure series.
Panorama Stitching Tips for PanoramaStudio Pro
Use either of these settings to stitch images of any GoPro Hero using PanoramaStudio Pro (german version):
- Brennweite unbekannt (Automatik)
- Digitalkamera
- Vollbild-Fischauge (fullframe)
or
- Brennweite 15,73 +- 10%
- Digitalkamera
- Vollbild-Fischauge (fullframe)
Exposure bracketed images can be combined with a separate program prior stitching with PanoramaStudio Pro. SNS-HDR-Lite is available free of charge and can be used for that step.
See http://sns-hdr.com/files/SNS-HDR_Lite.exe.
GPS data (location coordinates) within the shots are automatically passed on to the panorama since version 2.6 of PanoramaStudio. This is good e.g. when shooting panoramas for Google streetview with an action camera supporting GPS.
Interactive panorama viewing in Google+, Google Maps, and on Facebook is supported by this option which is turned on by default:
- English: „File -> Settings ->Import/Export“ -> „Add metadata for Google+/Maps Views“
- German: „Datei->Einstellungen->Import/Export“ -> „Metadaten für Google+/Maps Views hinzufügen“
For uploading respective VR content to Facebook, an equirectangular panorama with at least 6000 x 3000 pixels is recommended.
Panorama Stitching Tips for PTGui Pro
Ease stitching with proper lens type and focal length
After loading your images, PTGui may tell you ‚EXIF data was not found in the image(s)‘. For good results, give PTGui a good answer:
- At ‚Lens type‘ disable ‚Auto‘
- Select ‚Fisheye lens‘
- As ‚Focal length‘ enter 16,6
- As ‚Crop factor / focal length multiplier‘ enter 1.
To switch to these settings in an existing project, proceed as follows:
- In the tab ‚Project Assistant‘ go to the box ‚Camera / lens parameters‘
- Disable ‚Automatic‘
- Select the lens type ‚Full Frame Fisheye‘
- As ‚Focal length‘ enter 16,6
- As ‚Focal length multiplier‘ enter 1.
Your input value for the focal length will be automatically optimized by PTGui during stitching.
It is convenient to reuse previous settings with “File”, “Save as template …” and “Apply Template”.
Optimize Control Points
Usually you start with an average control point distance of about 4.5 pixels. This can be brought down to below one pixel within a few minutes.
In the tab “Project Assistant”, select “Advanced”.
In the tab “Optimizer”, in the field “Minimize lens distortion:”, select “Heavy + lens shift” and press “Run Optimizer” in the lower left. This may bring you down to an average distance of about two pixels.
Use the control point table to find and edit image pairs which have points with large distances. In such image pairs, delete and add control points as needed:
- Below the image pair, click to order the list of points by distance. Select and delete bad points and possibly create new points in the same area.
- Generate multiple new control points by pressing shift while dragging a rectangle with the left mouse button. Right-click into the rectangle and click “Generate Control Points Here”.
- Delete multiple control points by pressing the key “Delete” after selection of the rectangle.
- Use the menu item “Control Points”, “Delete Worst Control Points” from time to time.
Run the optimizer after each step, e.g. by pressing F5.
Smoothen sky by exposure correction
This section is applicable only for the generation of panoramas from non-bracketed exposures.
You use probably automatic exposure when you shoot images for a panorama with your action camera. The automatic adaptation to the different brightness in different directions can cause unwanted variations in the brightness of the sky in your panorama. The feature „Exposure compensation“ of PTGui Pro provides a good way to avoid such variation:
- In the tab ‚Project Assistent‘, click the button ‚Advanced‘ on the right hand side. This brings up more tabs.
- Choose the tab ‚Exposure / HDR‘.
- In the section HDR, enable ‚Exposure Compensation‘ and watch the effect of it in the preview window.
See Something
This section is applicable only for the generation of an HDR panorama from exposure bracketed shots.
PTGui may select an overly bright or dark image to represent an exposure stack. Fix this temporarily:
- In the tab “Project Assistant”, select “Advanced”.
- In the tab “Create Panorama”, choose the best EV level, press select and open the panorama editor.
Now you can better appreciate the panorama and adjust its orientation and position by dragging.
Revert to the inclusion of all images prior creation of the stitched image! Otherwise the final panorama will be based on a single layer of images taken with a single exposure time.
Get amazing colors and plenty of detail with HDR
One effect of enabling exposure compensation is that it makes your panorama contain an unusually high dynamic range from very dark to very bright areas. This range is in most cases larger than the maximum dynamic range that is covered by a JPG-image. In order to exploit the valuable information gathered by your shots, you have to reduce the high dynamic range of your panorama to a lower range. A very good way to do so is to apply tone mapping. The described method works with PTGui Pro version 10 or higher:
- In the tab ‚Exposure / HDR‘ (see previous section) check the box ‚Tone map stitched panorama‘
- Click ‚Tone Map Settings …‘
- There you may want to reduce ‚Target Brightness‘ a bit
- Try setting ‚Compression‘ to 0.5 and ‚Saturation‘ to 0.3
Color correction of the panorama can not be done easily here and should be left to postprocessing with an image manipulation program of your choice if needed.
Remove tripod – patch nadir
When a spherical panorama is shot from the tripod, than the tripod will show up on the panorama unless you take care to avoid that. There are many ways to patch the nadir such that the tripod disappears. The best of these are shortly described here.
Patch nadir with content-aware fill of Photoshop CS5
Owners of Photoshop CS5 can use the feature content-aware fill to delete the tripod, to analyze its environment and to fill in its place with synthesized but very natural looking content inspired by the analyzed environment.
Patch nadir with a tool for interactive tours
Tools for interactive tours, such as e.g. Panotour and Pano2VR, provide features to deal with the nadir area. These may comprise insertion of a mirror ball or of your logo in the area around the tripod.
Patch nadir with viewpoint correction of PTGui Pro
You may want to make the tripod invisible in your panorama. You can always remove the tripod by retouching the stitched image. However, there are various other ways to do that. Here we present a method which exploits a feature of PTGui Pro.
When you are done with the normal shots of your panorama, move the tripod sideways just far enough that all parts of the ground which were hidden by the tripod become visible to the camera. Take also into account that the tripod and yourself might throw a shadow. From the new position, shoot another image or another exposure series. After stitching, remove most control points for this nadir image; leave only control points which are close to the tripod.
You may have to tell PTGui to generate control points in the nadir area:
- In the tab ‚Control Points‘, press shift while dragging a rectangle with the right mouse button
- Right click into that rectangle and select ‚Generate Control Points Here‘
Moreover, use only those parts of the nadir image which are close to the tripod. The used part can be controlled with the tab ‚Mask‘ which is available in advanced mode.
Now you are ready to properly align the tripod-free nadir area with the rest of the panorama:
- In the tab ‚Optimizer‘, click on ‚Advanced‘ at the upper left
- Check the field ‚Viewpoint‘ for the nadir shot(s)
- Hit ‚Optimizer‘ on the lower left to trigger the desired alignment
Viewpoint correction works best when the nadir area is fairly flat.
Patch nadir with viewpoint optimization of Autopano Giga
Read Patching the nadir of Kolor to learn how to patch the nadir with Autopano Giga. Watch out for „Optimize viewpoint of this image“. Use the masking feature in addition, to restrict the contribution of the nadir shot to the final image to the required minimum.


